If you’ve ever wondered how to negotiate roof replacement with insurance, you’re not alone. Filing a claim after storm damage or roof deterioration can feel overwhelming, especially if you’re unsure of what’s covered, how to communicate with your adjuster, or what steps to take if your claim is denied.
In this guide, we’ll walk you through:
- The basics of roof insurance claims: What’s typically covered (and what’s not).
- How to communicate with your adjuster: Tips for clarity, documentation, and timelines.
- Ways to improve your negotiation outcome: Without making promises or missteps.
While every insurance provider is different, understanding the process can help you navigate your claim with more confidence.
📑 What Does Homeowners Insurance Typically Cover?
Before you negotiate anything, it’s important to understand what’s generally included in a roof-related claim. Most homeowners’ insurance policies offer coverage for damage caused by sudden, unexpected events, not age or wear and tear.

Commonly Covered Situations
Most insurance providers offer protection for damage caused by:
- Windstorms or hail: Shingle damage from storms is one of the most common reasons for a claim.
- Falling trees or branches: If a tree falls on your roof due to a storm, this is usually covered.
- Fire or lightning: These are considered catastrophic events with broader coverage.
- Vandalism: Some policies may include roof damage caused intentionally by others.
Situations That May Not Be Covered
It’s equally important to understand what typically isn’t covered:
- Old or worn-out roofing: Damage from age or neglect is usually excluded.
- Improper installation: Faulty workmanship isn’t typically covered under standard policies.
- Cosmetic damage: Hail impact with no loss of function might not meet the threshold for replacement.
Always read your policy documents carefully or speak to your agent for clarification.
📸 Step 1: Document The Damage Thoroughly
Good documentation is the foundation of a successful insurance negotiation. The clearer, detailed evidence you provide, the easier it is for your claim to be evaluated accurately.
Take Photos and Videos
Immediately after the damage (if it’s safe), capture high-resolution photos and videos of:
- Missing or lifted shingles
- Dents in flashing, gutters, or vents
- Water stains on ceilings or attic boards
- Debris, tree limbs, or signs of impact
Be sure to date the photos and keep backups.

Keep Records of the Storm Event
If a major weather event caused the damage, gather proof:
- News reports or weather alerts: These support your timeline.
- Neighbors’ claims or repairs: If others were impacted, it strengthens your case.
- Receipts for emergency repairs: If you hired someone for a tarp or temporary fix, save all invoices.
🗓️ Step 2: Schedule a Roof Inspection
Many homeowners call their insurance company right away, but it’s often smarter to get a professional opinion first.
Work With a Local Roofing Contractor
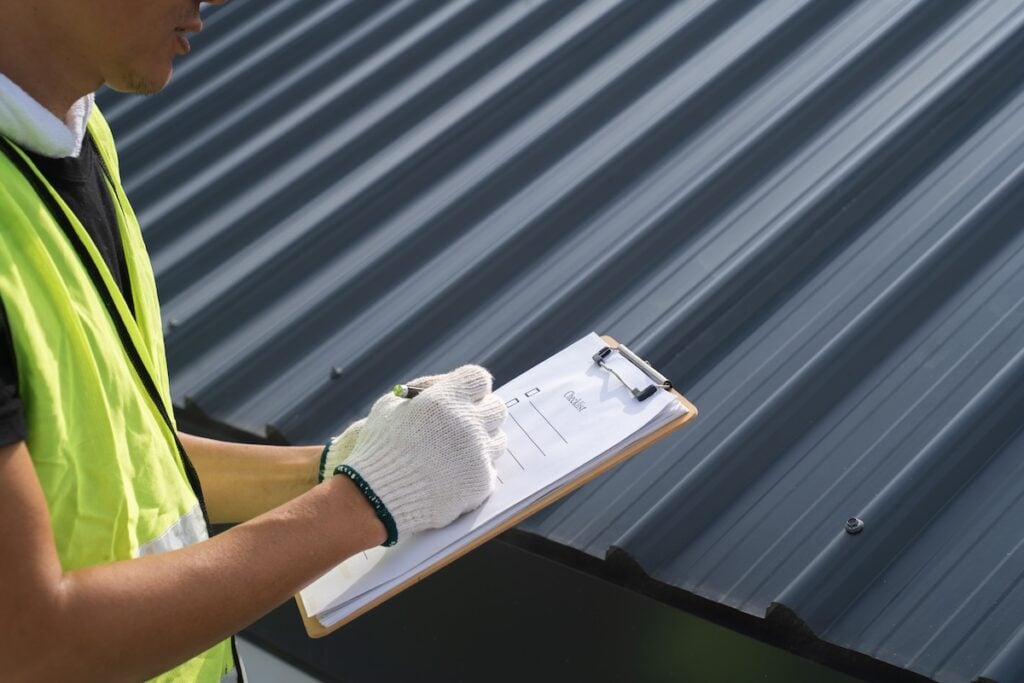
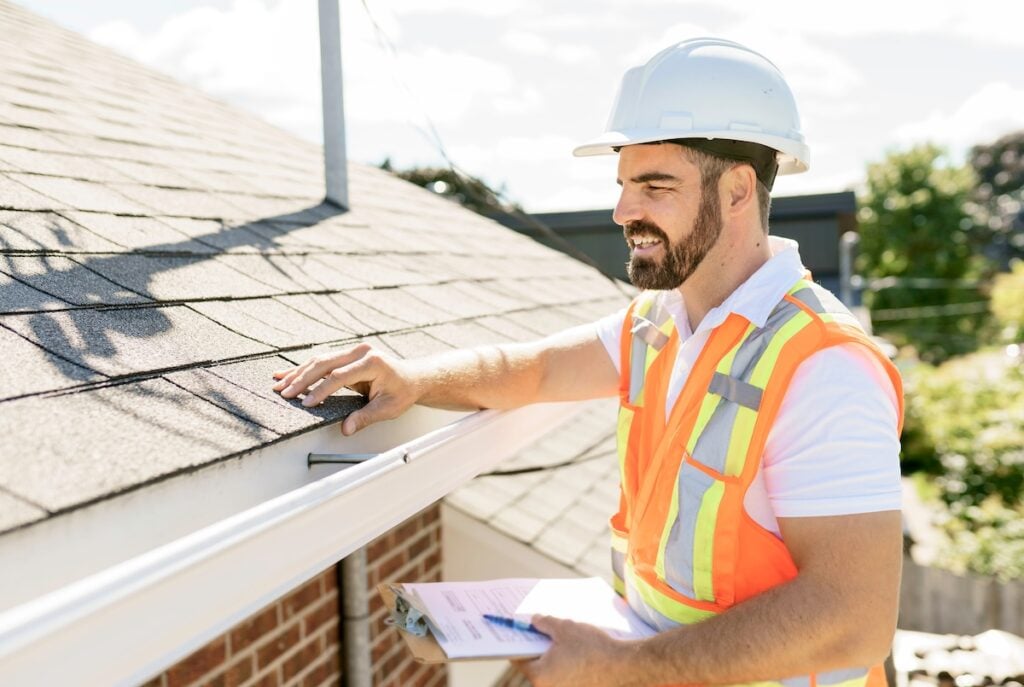
Hiring a reputable roofing contractor to inspect your roof can help you:
- Identify hidden damage: Roofing pros often spot issues that adjusters may overlook.
- Get a repair estimate: This gives you a realistic idea of the project cost.
- Receive support during the claim: Some contractors will meet with the adjuster to advocate for your needs.
Choose a licensed, insured, and experienced contractor who is familiar with insurance restoration work.
📋 Step 3: File Your Claim Promptly
Timeliness matters. Most insurance policies have strict deadlines for reporting damage, sometimes as short as 30 to 60 days after the event.
Call Your Insurance Provider
When you’re ready, contact your insurance company to open a claim. Be prepared to:
- Describe the incident: When and how the damage occurred.
- Submit documentation: Photos, videos, and repair estimates are helpful here.
- Schedule an adjuster visit: They will inspect the roof to assess the claim.
You should receive a claim number and contact person to follow up with.

🤝 Step 4: Meet With the Adjuster
An adjuster will visit your home to inspect the roof and determine whether your claim is approved, and for how much.
Be Present (Or Have Someone Represent You)
It’s important for you or your contractor to be there during the inspection to:
- Point out key areas of damage
- Answer questions and provide records
- Clarify the scope of your concerns
If your roofer joins you, they can also explain why certain repairs or a full replacement may be needed.
Stay Professional and Organized
You don’t need to be confrontational. Simply be prepared with your evidence, notes, and questions. Treat it like a business meeting and document everything discussed.
❗️ Step 5: Review the Claim Summary Carefully
Once your adjuster submits their report, your insurance company will send you a claim summary. This outlines what’s approved and what they’ll pay.
Understand the Terminology
Most summaries include:
- RCV (Replacement Cost Value): The total cost to replace the roof at current prices.
- ACV (Actual Cash Value): The depreciated value of the roof based on age.
- Deductible: The amount you are responsible for paying before insurance kicks in.
Your payout is typically the ACV upfront, with the remainder of the RCV paid after you complete the work.
Ask Questions
If something looks off, speak up:
- “Why was this item excluded?”
- “Can you explain the depreciation?”
- “Can we revisit a second inspection if more damage is found?”
You’re allowed to ask for clarification or additional review if something doesn’t seem right.
👉 Step 6: Dispute or Appeal If Needed
If your claim is denied or approved for less than expected, you may have options to challenge the decision.
Gather More Evidence
If you believe damage was overlooked:
- Request a reinspection: Your contractor can help identify missed areas.
- Get a second opinion: Another roofing professional may provide a competing estimate.
- Submit an appeal: Follow your insurance company’s formal dispute process.
While outcomes vary, respectful persistence can sometimes lead to a higher settlement.
🏠 Step 7: Complete The Work and Submit Final Invoices
Once your claim is approved and your contractor is selected, the work can begin. After the project is finished:
- Submit the contractor’s final invoice to your insurance company.
- Request any remaining RCV payment, if your policy includes it.
- Save all receipts and warranties for your records.
If supplements (additional repairs or material upgrades) are needed during construction, your contractor can work with your insurance to approve them before moving forward.
👍 Working With A Contractor Who Knows Insurance Claims
Some contractors are experienced in working alongside homeowners during the insurance process. While they don’t “negotiate” on your behalf (legally, only public adjusters or attorneys can do that), they can:

- Provide accurate estimates that align with industry standards
- Meet with the adjuster to walk the roof
- Help document damage and necessary repairs
- Ensure the repairs match what your policy covers
This type of support can make the process smoother and more successful without overstepping legal boundaries.
💪 Be Informed, Prepared, and Proactive
Learning how to negotiate roof replacement with insurance is about understanding the process, not fighting your provider. With strong documentation, professional inspections, and open communication, many homeowners find that their claims are approved fairly and quickly.
At Boss Exteriors, we believe in transparency and support. If your roof has been damaged by a storm or other event, our team can guide you through the inspection, estimate, and repair process with honesty and care. We’re here to help you protect your home and feel confident in every step.
Need help after a roof-damaging event? Contact Boss Exteriors today for a professional roof inspection and honest guidance.


