
![]() 7 Min Read
7 Min Read
![]() 08/19/25
08/19/25
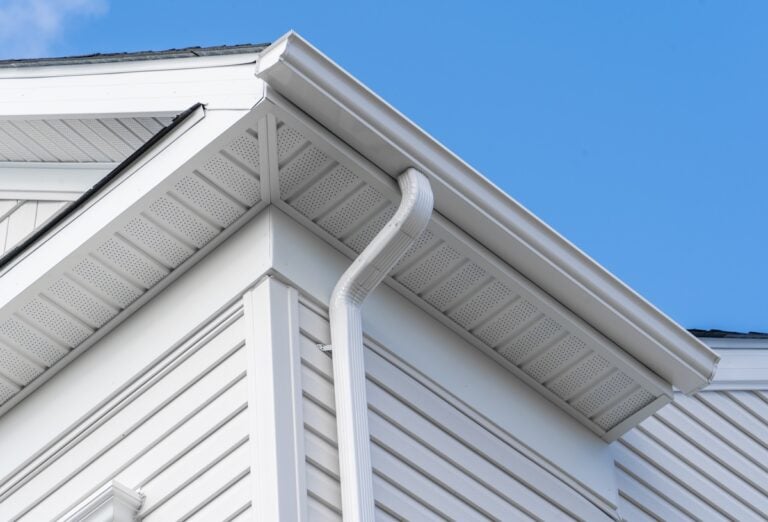
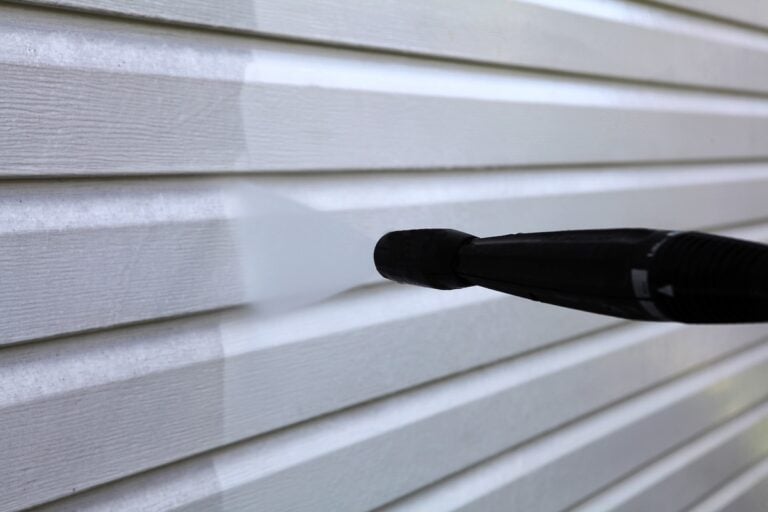
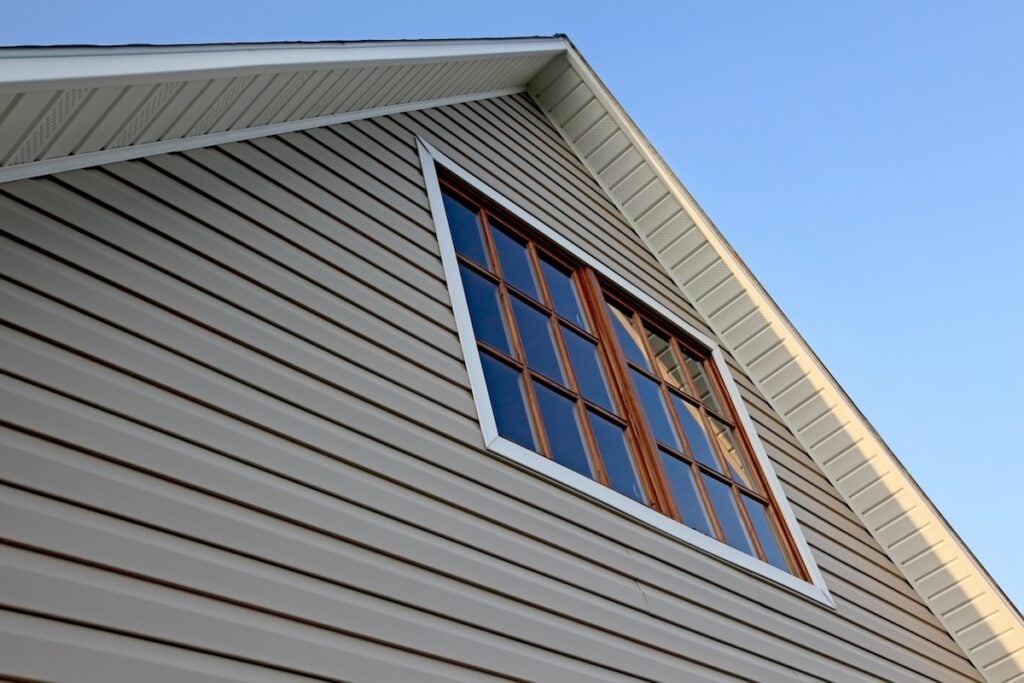
If your home’s exterior looks a little off, you may be wondering how to fix warped vinyl siding before it turns into a bigger issue. Warping is a common problem, especially during hot summers or after improper installation, but with the right tools and guidance, it’s often fixable without replacing the entire wall.
In this guide, we’ll explain:
- Why vinyl siding warps: And how to identify the root cause.
- How to fix warped siding panels step by step: Including what tools you’ll need.
- When to call in a pro: To avoid damaging your siding or home’s structure.
Let’s dive into how to get your vinyl siding looking smooth and secure again.
☀️ What Causes Vinyl Siding To Warp?
Before you grab your pry bar, it’s important to understand what causes siding to warp in the first place. Fixing the symptom without solving the cause may lead to more repairs down the road.
Heat Exposure
Vinyl siding is made of PVC plastic, which expands and contracts with temperature changes.
- Sun reflection from windows: Nearby windows (especially energy-efficient types) can reflect concentrated heat onto siding.
- Grill placement: Placing a barbecue or fire pit too close to vinyl can melt or bubble the panels.
- High ambient temperatures: Prolonged sun exposure can gradually soften siding over time.
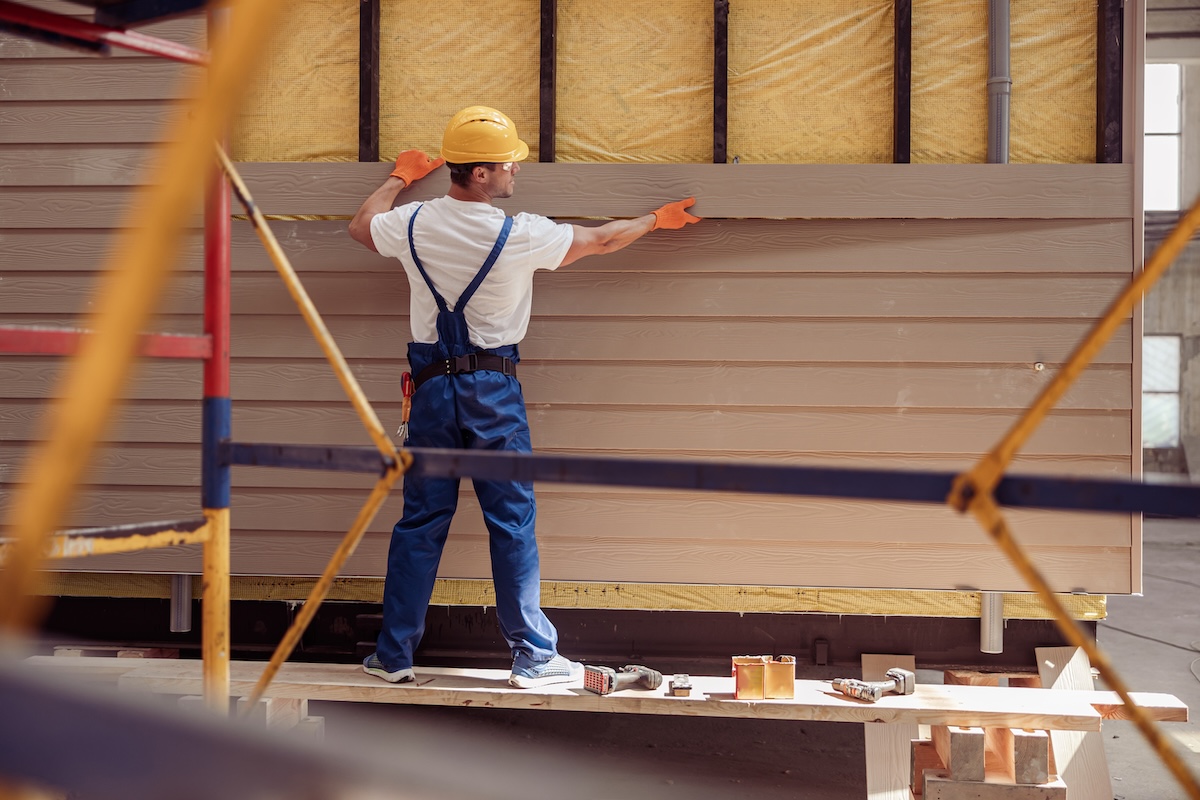
Poor Installation
Incorrect installation is one of the most common reasons siding warps.
- Nailed too tightly: Vinyl siding needs room to expand. Nails driven all the way in prevent movement and cause buckling.
- Improper panel overlap: Not leaving space between boards can lead to warping in hot or humid weather.
- No backer board: Without a flat surface underneath, siding may flex and distort over time.
Moisture or Structural Issues
Sometimes, warping is the result of underlying issues.
- Rotting sheathing: Moisture behind the siding can cause bulging or soft spots.
- Foundation settling: If your home shifts, it may affect siding alignment.
If the warping is widespread or accompanied by interior signs of moisture, a professional inspection is recommended.

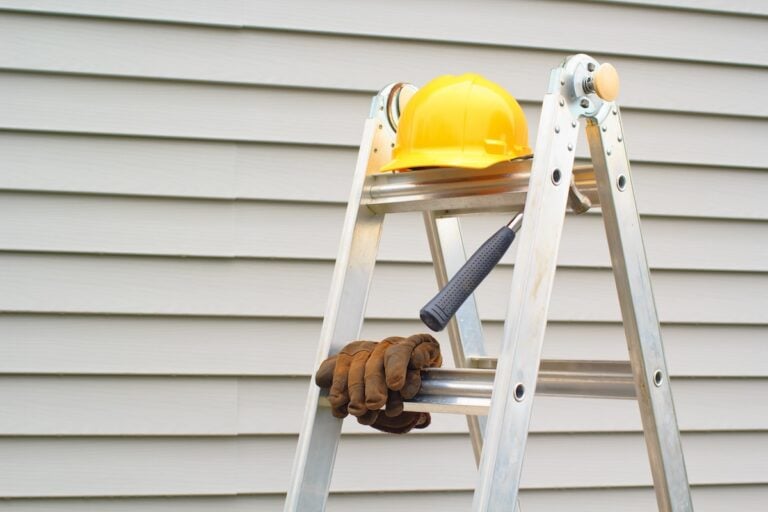
🛠️ Tools and Materials You’ll Need
Before beginning repairs, gather the following tools:
- Zip tool (siding removal tool): Essential for unlocking vinyl siding panels.
- Flat pry bar: Helps gently lift or remove panels.
- Replacement siding panel(s): Match the existing type, color, and profile.
- Hammer or siding nailer: For attaching new siding.
- Galvanized roofing nails: 1¼ to 1½ inches, rust-resistant.
- Measuring tape and utility knife: For accurate cuts.
- Safety gear: Gloves and eye protection.
Optional but helpful: A heat gun for reshaping slightly warped panels (covered below).
✅ Step-By-Step: How To Fix Warped Vinyl Siding
Here’s how to replace or repair warped vinyl siding safely and effectively.
Step 1: Assess the Damage
Walk around your home and inspect the affected panels.
- Identify localized vs widespread warping: One or two panels can usually be replaced easily.
- Check for signs of underlying issues: Look for water stains, mold, or crumbling sheathing.
- Look at the nail spacing: If you see nails driven tight with no room to “float,” improper installation is likely to blame.
If the damage is isolated and your sheathing is solid, proceed with a targeted repair.
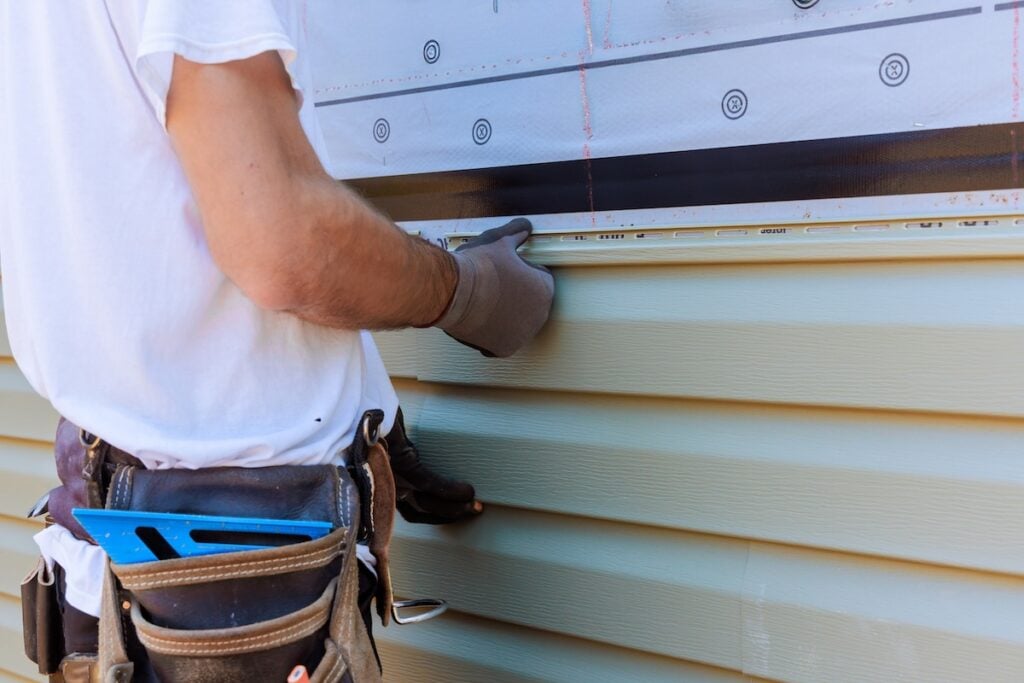
Step 2: Unlock the Siding With a Zip Tool
Use your zip tool to disengage the bottom edge of the panel directly above the warped one.
- Insert the tool under the bottom lip: Hook it and pull down gently to release the locking tab.
- Work slowly: Slide along the length of the panel to fully detach it.
- Fold the upper panel upward: Tuck it out of the way so you can access the nails of the damaged piece.
Zip tools are inexpensive and specifically designed for vinyl—don’t attempt this step with a screwdriver or you risk cracking the panel.
Step 3: Remove the Warped Panel
Once the upper panel is unlocked, remove the nails holding the warped siding in place.
- Use a pry bar carefully: Avoid damaging surrounding panels.
- Pull the panel free: Lift and wiggle it out from the overlapping piece below.
- Inspect the backer board: If the sheathing behind the siding is soft, cracked, or water-stained, pause and call a professional.
If everything looks sound, you’re ready for the new panel.
Step 4: Cut and Install the Replacement Panel
Measure the length of the panel you removed and cut a new piece to match.
- Use a utility knife: Score and snap vinyl panels for a clean cut.
- Align the bottom edge first: Hook it into the locking edge of the panel below.
- Nail through the top flange: Use galvanized nails spaced every 16–24 inches, leaving about 1/32″ of space (don’t drive them tight).
- Ensure the panel can slide: This allows for expansion and contraction.
Check for alignment with the surrounding panels before securing the last few nails.
Step 5: Reattach the Upper Panel
Once your new panel is in place:
- Pull the upper panel back down: Overlap the top flange of the replacement.
- Use your zip tool to lock it in: Hook the bottom edge, pull down, and snap into place along the full length.
- Smooth it out: Gently press along the seam to ensure everything is snug and flush.
Congratulations—you’ve completed a siding panel replacement!
⭐️ Bonus: Can You Heat and Flatten Warped Siding?
If the warping is minor and the panel isn’t cracked, you may be able to flatten it with heat.
- Use a heat gun carefully: Apply gentle heat to the warped area—never hold it in one spot too long.
- Gently press the vinyl back into shape: Use a flat board or hand pressure.
- Let it cool and set: Keep pressure on until the siding holds its shape.
Note: This is a temporary fix and may not work on panels that are brittle, old, or extensively warped.
❗️ How To Prevent Future Warping
After your repair, take a few simple steps to avoid repeating the problem.
- Check grill placement: Keep grills at least 10 feet from vinyl siding.
- Trim surrounding foliage: Tree branches and bushes can trap heat and moisture.
- Inspect annually: Look for signs of tight nails, heat exposure, or shifting panels.
- Keep reflective surfaces in check: Low-E windows or mirrors that reflect heat toward siding may need screens or shading.
And always use a reputable installer if you’re replacing more than a few panels.
📞 When To Call A Professional
Sometimes, siding damage goes beyond what DIY tools can handle. Call a pro if:
- Multiple walls are affected: Widespread warping often signals deeper issues.
- You find soft sheathing or mold: This may require structural repair or mold remediation.
- You can’t find a matching panel: A siding contractor may help source or color-blend replacements.
- You’re uncomfortable on ladders: Safety always comes first.
At Boss Exteriors, our team can inspect your siding, explain your options, and make expert repairs or replacements that blend seamlessly into your home’s exterior.
💪 Repair It Right the First Time
Knowing how to fix warped vinyl siding helps you keep your home looking its best—and prevents more serious problems like moisture intrusion or insulation issues. Whether you’re replacing a single panel or addressing several, careful technique and the right tools make all the difference.
Not sure what’s causing your siding to warp? Boss Exteriors is here to help. Our experienced team offers honest assessments, fast repairs, and siding replacement services that prioritize quality and curb appeal.
Contact Boss Exteriors today for a siding evaluation and expert help you can count on.