
![]() 7 Min Read
7 Min Read
![]() 07/29/25
07/29/25
If you’re considering a DIY roof replacement, there’s a lot to weigh before climbing the ladder. While it may seem like a money-saving solution, replacing a roof on your own involves serious labor, tools, and risks.
In this blog, we’ll walk you through:
- When a DIY approach makes sense: And when it’s time to call a professional.
- Step-by-step guidance: What you need to prepare, remove, and install a new roof.
- Safety and code considerations: What many DIYers overlook (but shouldn’t).
Let’s break down what homeowners should know before committing to such a major home project.
⭐️ Should You Replace Your Roof Yourself?
DIY roof replacement isn’t for the faint of heart. This section explores the key factors that determine whether it’s worth doing it yourself or hiring a professional.
Know Your Skill Level
Roof replacement is not a beginner DIY job. Even experienced handypeople can struggle with the scale and danger involved.
- Carpentry experience required: Roof work involves measuring, cutting, and structural assessment.
- Comfort with heights: You’ll need to spend hours on your roof, often on steep slopes.
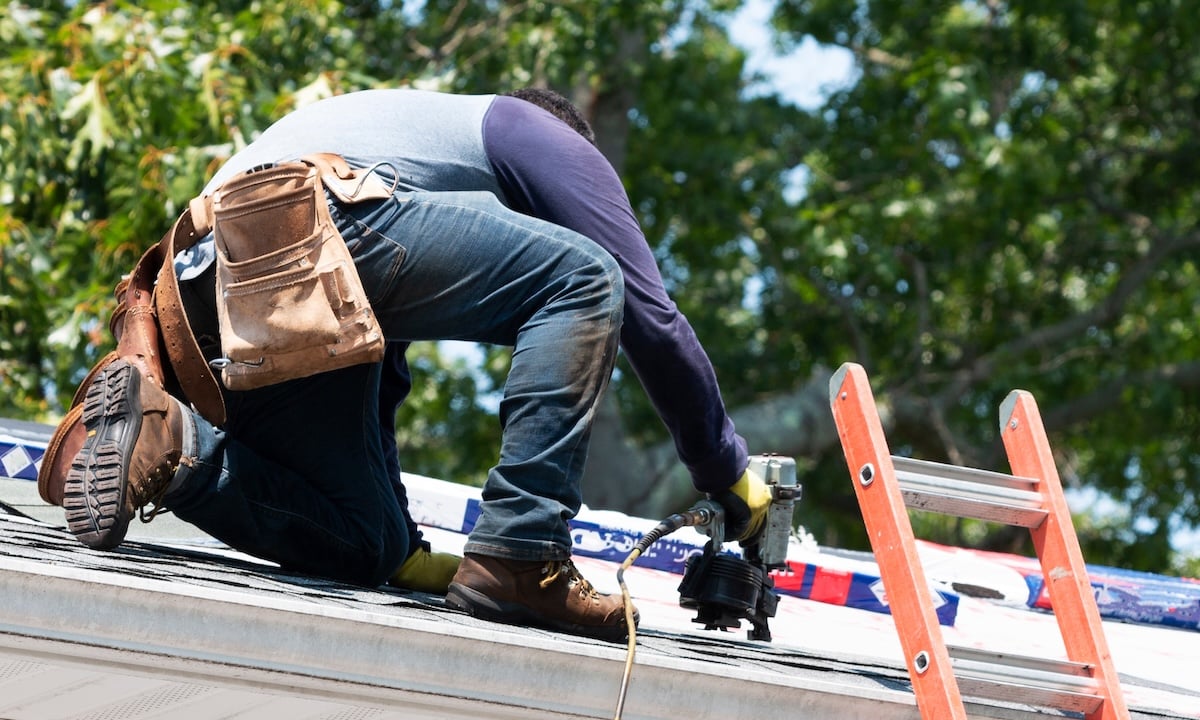
- Tool proficiency: Using nail guns, hook blades, roofing shovels, and chalk lines is essential.
Evaluate the Roof’s Complexity
Not all roofs are created equal. Some are much more DIY-friendly than others.
- Pitch and height: Low-slope, single-story roofs are more manageable.
- Number of valleys and penetrations: Chimneys, vents, and skylights add complexity.
- Layers of old roofing: If you need to tear off more than one layer, it increases both labor and disposal.
Understand Local Permits and Codes
You can’t skip the paperwork just because you’re doing the work yourself.
- Permits required: Most municipalities require permits even for self-performed roof replacement.
- Inspection protocols: You may need progress or final inspections to close the permit.
- Building code compliance: DIY work must still meet all local and international building codes.

🛠️ What Tools And Materials Do You Need?
Before you begin, you’ll need to assemble the right materials and gear. Cutting corners here can lead to injuries, delays, or water damage down the road.
Safety Equipment
Don’t get started until you’ve invested in the right protective gear.
- Fall protection: Use a roof harness, anchor system, and rope grab.
- Ladder stabilizer: Keeps your ladder firmly in place while accessing the roof.
- Work gloves and boots: Durable gloves and slip-resistant footwear are essential.
Roofing Tools
Here’s what you’ll likely need:
- Roofing nail gun: Speeds up shingle installation dramatically.
- Roofing shovel or pry bar: Helps remove old shingles and nails.
- Chalk line: Ensures straight shingle rows.
- Utility knife: For cutting shingles cleanly.
- Tin snips: To trim flashing and vent pieces.
Materials
You’ll need to purchase the same roofing materials the pros use.
- Shingles: Asphalt shingles are the easiest material for DIYers.
- Roofing nails: Galvanized nails are rust-resistant and code-compliant.
- Underlayment: Either felt or synthetic underlayment is needed under the shingles.
- Drip edge and flashing: Critical for directing water away from edges and transitions.
- Ice and water shield: Provides extra protection in valleys or cold-climate areas.
✅ How To Replace Your Roof: Step-by-Step
If you’re still ready to tackle your own roofing project, follow this basic process from start to finish. This is a simplified overview; each step requires care and precision.

Plan Ahead
Begin with planning and prep before your first nail is driven.
- Check the weather: Choose a week with dry conditions.
- Order a dumpster: Roofing debris accumulates quickly.
- Notify your neighbors: Let them know about noise and debris for courtesy’s sake.
Step 1: Remove Old Shingles
Strip down the entire roof to the wood decking. Don’t attempt to install new shingles over rotting or layered materials.
- Start from the top: Work downward using a roofing shovel.
- Remove nails and staples: Leaving these in place can damage the new shingles.
- Inspect the decking: Replace any rotten or soft plywood sheets.
Step 2: Install Underlayment and Flashing
These waterproof layers are critical for preventing leaks.
- Install drip edge first: Goes along eaves and rakes before underlayment.
- Lay the underlayment: Start at the bottom and overlap rows.
- Install flashing around chimneys and vents: Use step flashing where vertical walls meet the roof.
Step 3: Install Shingles
Start from the bottom edge of the roof and work your way up.
- Use a chalk line: Helps align your first course straight.
- Stagger seams: Avoid lining up vertical joints in successive rows.
- Follow manufacturer specs: Nail placement and spacing matter.
Step 4: Finish With Ridge Cap and Ventilation
Your final steps involve protecting the ridge and ensuring your attic can breathe.
- Install ridge vent: A continuous ridge vent is ideal for airflow.
- Apply ridge shingles: Use specifically designed ridge caps for durability.
- Seal all exposed nails: Apply roofing cement to prevent leaks.
❗️ Top 6 Mistakes DIY Roofers Make
Even a well-prepared homeowner can run into common pitfalls during a DIY roof replacement. Avoid these critical errors to protect your investment.
- Skipping the underlayment: This waterproof barrier is essential to keep water from reaching your wood decking.
- Improper shingle nailing: Nails too high, too low, or overdriven can void your warranty and cause shingle blow-off.
- Ignoring ventilation needs: Poor attic ventilation leads to moisture damage and premature aging.
- Mismatching materials: Using the wrong type of nails, underlayment, or flashing can cause long-term failures.
- Forgetting about flashing: Neglecting valleys, chimneys, and pipe boots often results in the first roof leaks.
- Working without safety gear: Falls are the most common roofing injuries and can be fatal.

📞 When To Call A Roofing Professional Instead
There’s no shame in handing off a roof replacement to the experts—especially when safety, resale value, or long-term protection is on the line.
Your Roof Has Structural Damage
If your decking is soft, sagging, or moldy, you may need to repair rafters, not just surface materials. This goes beyond the scope of most DIY projects and requires a professional assessment.
The Pitch Is Too Steep
Anything above a 6:12 pitch is considered steep-slope roofing. These roofs require specialized techniques and gear to walk safely and install properly. Unless you have experience with steep slope work, leave it to a roofing contractor.
Warranty and Insurance Matter
If you want a manufacturer-backed warranty, DIY roof replacement usually voids it. Some homeowners’ insurance policies may even deny future claims if the roof wasn’t installed by a licensed professional. If these protections matter to you, hire an expert.
💵 Cost Comparison: DIY vs Professional Roofing
Many homeowners start a DIY roof replacement project to save money, but the savings may not be as significant as expected after factoring in materials, tools, time, and disposal.
DIY Costs
- Materials: $3,000–$6,000 for a 2,000 sq. ft. home.
- Tool rental or purchase: $500–$1,000 depending on what you already own.
- Dumpster rental: $400–$700.
- Time: 3–7 days of labor (or longer, depending on complexity).
Professional Costs
- Total job cost: $8,000–$15,000 depending on size, pitch, materials, and region.
- Includes: All labor, disposal, warranty, and speed (typically done in 1–2 days).
In many cases, homeowners feel peace of mind and time saved outweigh the potential savings from doing it themselves.
🤔Should You Try DIY Roof Replacement?
DIY roof replacement is possible, but it’s not easy, fast, or risk-free. Homeowners with the right tools, knowledge, and safety training may find success on a simple roofing project. But for most, the risks, time commitment, and potential for costly mistakes make hiring a professional the smarter choice.
At Boss Exteriors, we believe your roof is too important to gamble on. If you’re unsure whether you can handle a roofing project safely and correctly, reach out to our team. We’re happy to offer honest advice, transparent estimates, and expert installation. Don’t put your home or your safety at risk. Contact Boss Exteriors today for a roofing consultation you can trust.